How to deep-clean your fridge
Is your fridge dirty or smelly? Follow these simple steps to keep yours clean,
stop it smelling and protect your food from harmful bacteria

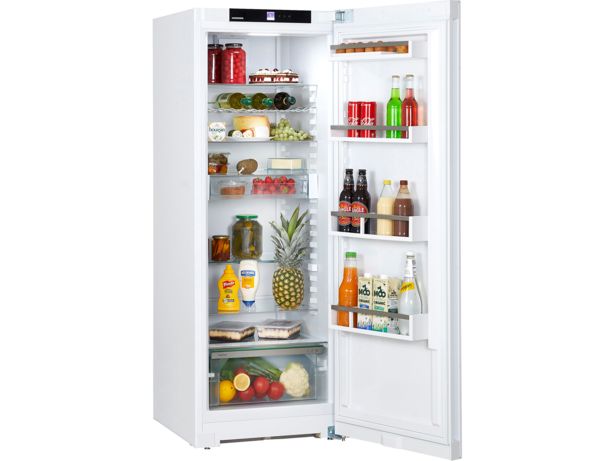
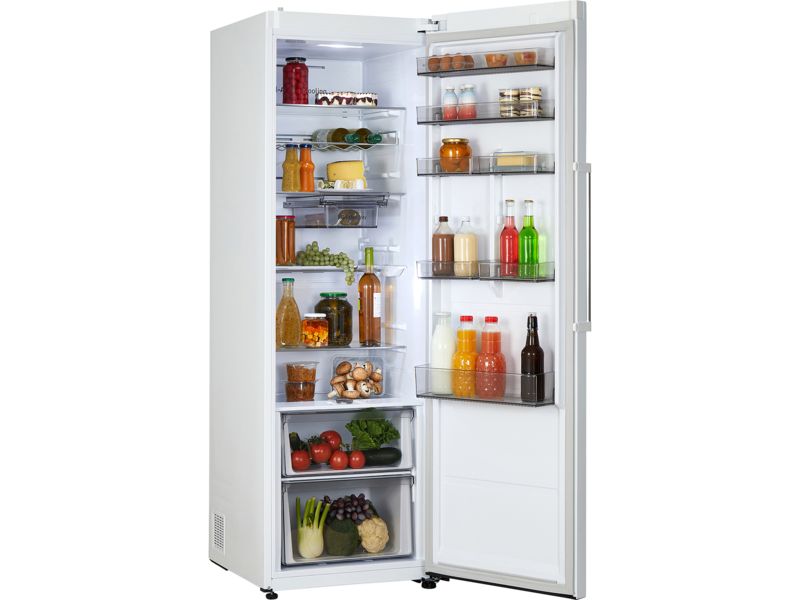
From milk spills and cake crumbs to forgotten fruit at the bottom of the crisper drawer, fridges can soon start to look messy and smell funny. But with a little care and attention, the hardest working appliance in your kitchen can look like new again.
Cleaning little and often is your best bet for preventing unpleasant smells and stopping bacteria from breeding, but it's still important to set aside some time to do a deep-clean every now and then. Read on to find answers to the key questions about how to properly clean a fridge.
If your fridge seems near the end of its natural life, or you fancy an upgrade, then take a look at our fridge reviews to find a model to suit your needs and budget.
How often should I clean my fridge?

You should aim to deep-clean your fridge two to four times a year. Spills and crumb build-up should be dealt with as you go.
When you decide it's time for a deep clean, try and time it for when you have as little food in the fridge as possible. The day before your scheduled big shop would be ideal. It will mean less work emptying the fridge and you won't have to find space to put your food while you're cleaning.
Why it's important to clean your fridge regularly
Smells and stains are bad enough, but the presence of harmful bacteria in many fridges should be a wake-up call to set aside some time to clean your fridge.
In 2019, we analysed 50 swabs taken from 10 fridges, and 19 of those swabs showed the presence of worrying levels of germs. Some had Enterobactera clocae and Klebsiella oxytoca, which are associated with respiratory and urinary infections, especially for people with existing health problems.
Two samples we tested had the more serious Aeromonas bacteria, which can cause a range of infections, from skin conditions to sepsis, as well as food-borne illness.
Thorough cleaning can help limit the growth and spread of such bacteria.
How should I clean my fridge's interior?
Follow this simple step-by-step guide for a clean and hygienic fridge interior.
1. Empty it

- Empty the fridge of food. Take the opportunity to audit whatever you have. Out-of-date items and a questionable-smelling pack of cold cuts? Put them in your food waste.
- Put perishable items into cool bags. The cleaning process shouldn't take ages, but bacteria can quickly multiply at room temperature so don’t risk leaving them out on the kitchen counter while you work.
2. Remove the shelves and drawers

- Remove interior shelving, drawers and door racks as much as you can before you start cleaning them. Don’t stand at an open door trying to clean them in situ.
- Wash the removable parts. The shelving, drawers and door racks can be washed in the sink with washing-up liquid and hot water but let glass shelves warm up to room temperature before washing them or you'll risk them cracking from the heat.
- Don't put the drawers or door racks in the dishwasher unless you know for sure they're dishwasher-proof. In a hot wash, some plastic items can warp, and if that happens you're likely to have problems getting them back inside the fridge.
- Rinse everything off and leave it all to air dry on the draining board if you can. Alternatively, use a fresh cloth to dry the parts off and store them out of the way until you're ready to put them back in the fridge. This will help reduce the likelihood of immediately reintroducing bacteria back into the fridge.
3. Choose your detergent

- Use lukewarm soapy water to clean the fridge's interior surfaces. If you prefer a more natural cleaning solution, consider a vinegar spray (water with white vinegar) or a paste mix of bicarbonate of soda and water.
- Avoid using harsh detergent sprays inside your fridge as the strong odour can linger and transfer to your food.
There are fridge-specific detergents on the market, although we haven't tested them and can't vouch for how good they are. Whirlpool, for example, has a specialist mild detergent fridge and freezer cleaning product that's designed for use inside your appliance and is claimed to be food-safe. It's called WPro and a 500ml bottle sells for around £9 online.
4. Wipe the inside, from top to bottom

- Start your cleaning at the top. That way you won't have to worry about drips coming down on areas you've already cleaned.
- Clean the shelf ledges, the walls, and the condensation trough - that's the narrow gulley on the back wall that runs down towards the drip pipe.
- Finally, clean the base of the fridge where all the drips and crumbs tend to accumulate.
- Dry everything off properly with paper towels or a clean dish cloth. You don't want any excess moisture in your fridge when you're done.
Learn How to defrost your freezer, without making a mess of your kitchen and wasting food.
Video: how to clean a smelly fridge
If after thoroughly cleaning the inside of the fridge there's still an unpleasant smell, the culprit might be out of sight.
A build-up of food and grime in the drainage pipe at the back of the fridge might be the source of the problem. Or it could be further down behind the fridge in the drip tray where the condensation from your fridge ends up. The water that's drained from the fridge can bring with it bits of food and other gunk. If that collects in the drip tray and is left undealt with, it can start to go rancid and give off a foul smell.
A good clean of one or both of these should solve the issue.
Read on, or watch the video above, to find out exactly how to clean these parts of your fridge.
1. Clean the fridge's drip tray

- Locate the drip tray. The drip tray is where the water that runs down the drainage hole in your fridge collects. Once there, the heat from the compressor helps it to evaporate. The drip tray can usually be found at the bottom of the back of the fridge.
- Wipe it out with a wet cloth or kitchen roll. This might do the job, but in some cases, you may need to remove the drip tray completely. Check the user manual for your appliance before attempting this and make sure you switch it off at the wall first. Once removed, simply wash the drip tray with soapy water before replacing it.
2. Unblock the fridge's drain pipe

If water is pooling at the bottom of your fridge, there’s likely a blockage in the drain pipe that runs from the back wall of the fridge down to the drip tray outside at the back of the fridge. Crumbs and other residue can gather in the pipe, preventing water from running down.
There are two ways to deal with a blockage:
- Remove it using a cotton bud, pipe cleaner or specialist tool. If the blockage is close to the top of the pipe, it will be a lot easier to deal with. Working around inside with a cotton bud, a pipe cleaner or the specialist tool that may have come with your fridge, can sometimes do the trick. Wipe off any gunk you manage to scoop out with a tissue or paper towel.

- Remove it by irrigating the pipe using a syringe and hose attachment. A few flushes of water will hopefully shift whatever's causing the blockage.
How should I clean my fridge’s exterior?
Follow this simple step-by-step guide for a sparkling clean fridge exterior.

1. Clean the fridge door and handles
- Using soapy water, wipe down the doors and handles. With hands constantly in contact with them, fridge doors and handles can be germ hotspots. Make sure to give them a good clean, and feel free to break out a more powerful detergent to help eliminate bacteria.
- Don't forget the edges of the fridge door. The top in particular can get a bit greasy and sticky over time, so pay a bit more attention to that part.
2. Clean the fridge door seals
- Wipe the door seals with a wet cloth. As the door seals help prevent warm air getting inside the fridge, it's essential to keep them clean and free of dirt and grime.
- Follow up with a dry cloth. Any leftover moisture in the creases of the seal will struggle to evaporate when the door is closed, which could lead to mould.
3. Dust the fridge condenser coils

Dust on the condenser coils doesn't just look unsightly, it can also prevent your appliance from cooling properly. If it’s particularly thick it can reduce the efficiency by as much as 25%, so including the coils in your deep-clean is a must. Follow these three steps to get the job done:
- Pull out the appliance and unplug it. If you've already put your food back in the fridge, don’t worry too much about it warming up as cleaning the coils is a quick job.
- Locate the coils. They will likely look like a metal grid running up the back of the appliance (similar to the image above). Alternatively, you’ll find them at the bottom of the appliance (possibly behind a panel at the front or back).
- Gently vacuum the coils to take off as much dust as you can – if your vacuum has a brush attachment, use that. Use a separate brush to clear off any remaining dirt and dust from the coils, and vacuum again to clear up any remaining mess.
How should I clean my fridge water dispenser?
It's important to check the user manual that came with your appliance before you attempt to clean the water dispenser. Although for a manual refill dispenser it should be a relatively straightforward process, it's still worth checking the manual for brand-specific instructions on how to remove, clean and replace it.
If you no longer have the manual, you can usually view a digital copy online by searching for it using the model name/number of your appliance.

Cleaning a manual-refill water dispenser
- Wash out the tank It should be a fairly simple task to detach the tank inside the fridge, wash it with soapy water, dry it off and refit it.
- Clean around the dispenser on the fridge door. If there are removable parts, take those off first. Using a vinegar and water solution, spray and wipe all surfaces. Don't forget the tray at the bottom that catches water drips. If there are areas that are hard to reach with a cloth, use a small brush to scrub around them.
- Clean the nozzle. Gently scrape away any hard water build-up around the nozzle using the handle of a teaspoon or a dull-bladed knife.
Cleaning a plumbed-in water dispenser
- Shut off the water supply If you have a plumbed-in water dispenser, shut off the water supply by turning off the mains stopcock before you start the cleaning process.
- Clean around the dispenser on the fridge door. You obviously won't have a detachable tank to worry about, so you can follow the same process detailed above for tackling the door-side dispenser itself.
Keeping your fridge clean

With the fridge now fully clean, and all the parts refitted, you're ready to get your food back inside.
Before you put items back in the fridge, take the chance to wipe down jars and condiment bottles that may have dirt or spilled sauce on them. You don't want to mess up your clean door racks and shelves straight off the bat.
In the future, make sure to wipe up spills immediately and stay in the habit of checking food regularly so it doesn't go off and stink out the fridge.
What temperature should a fridge be? has plenty of tips to help you keep food fresh and nutrient-rich, reduce wastage and lower the chances of harmful bacteria in your fridge.