How to transfer your vinyl onto a computer
In this guide, we explain how to get your treasured vinyl from disc to digital, so you can listen on all your devices.


All vinyl fans know the simple pleasure of placing a favourite record on to the turntable, gently lowering the needle into the groove and letting the music play. Unfortunately, you can’t enjoy your records on the go – or can you?
To copy your music on to a computer, you just need a record player with a USB port, and a free piece of software called Audacity. Your computer will act as a recorder for your vinyl and, once you’ve completed a simple set-up process, copying your music is as simple as pressing record and playing your LP.
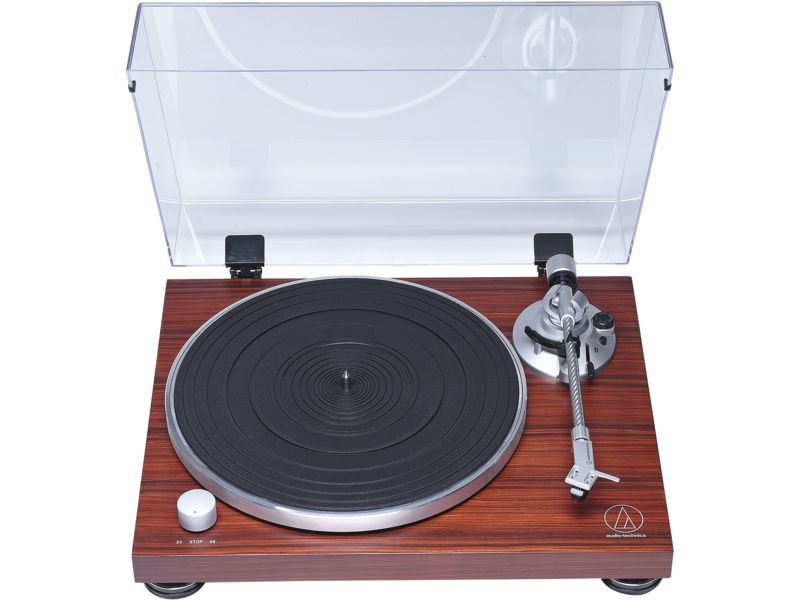
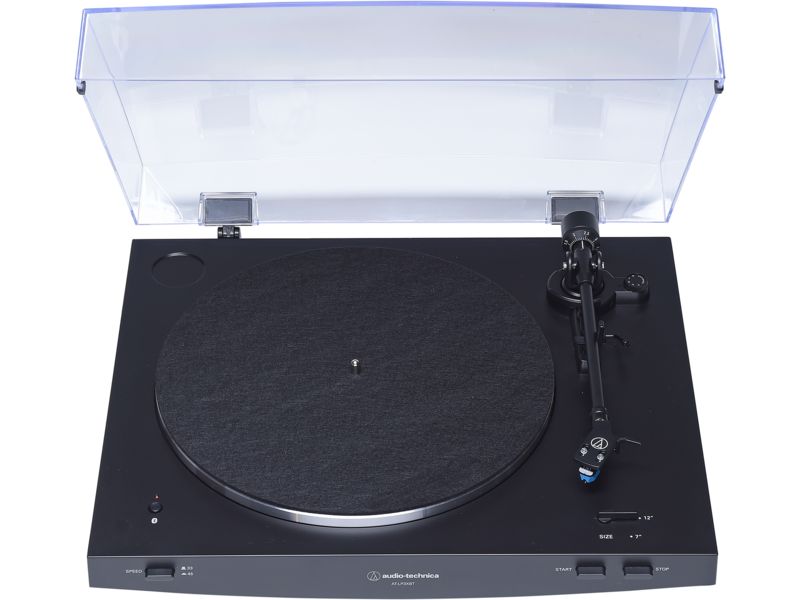
To see our top-rated turntables with built-in USB connections, check out our record player and turntable reviews.
Audacity is a great program for the job. Not only is it free, it also allows you to cut the recording of a whole side of a record into individual tracks that you can skip through like a CD, add to playlists, and copy to your smartphone or MP3 player.
Watch the video below to see how it's done on Windows, or read the steps for either Windows or Mac.
Audacity may look technical and daunting, but it's actually straightforward to use. It’s very powerful software and simple to use for recording your vinyls as they play through the turntable. Audacity is quite good at automatically identifying the gaps between tracks most of the time, and it’s easy to make corrections. However, if you have a large collection to transfer, the fiddly, manual nature of this software does mean it will take quite some time. Fortunately, the software provides an extensive online manual to learn yourself round the software.
Step by step – how to copy vinyl to your computer
1. Install audacity
Audacity is a free piece of software. Head to the Audacity website and click the download link (for Windows or Mac) in the centre of the page, and then double-click the .exe or .dmg file to install it.
2. Configure your audio settings
Now is a good time to connect your record player to a spare USB port on your computer – it should recognise you’ve plugged it in and, with a bit of luck, automatically install the correct software driver to enable you to use it.
For Windows
Next head to Control Panel and select Hardware and Sound. From here select Sound, which will open a new menu – on here, select Recording. This is where your record player should appear – assuming it does, you may want to change its name to something easily recognisable.
Next, click Advanced from the top bar, and make sure 2 channel, 16 bit audio is selected from the drop-down menu and that both the boxes below it are ticked.
For Mac
Head to System Preferences and select Sound. From here, click on the Input tab. This is where your record player should appear – assuming it does, you may want to change its name to something easily recognisable.
Check that the input is working by playing a record on your turntable and looking to see that the 'level' meter is moving. If not, go to a Finder window, select Go and then Utilities, and open Audio MIDI Setup. Click the Audio Devices tab, and make sure your USB turntable is in both the Default Input and Properties for drop-down menus. Choose 44,100.0Hz and 2ch-16bit.
3. Configure Audacity
Your computer should now be ready to record your vinyl, but Audacity needs a little tinkering with as well. Open the program and select Edit followed by Preferences. This will open a new menu – from here select Devices and make sure MME is selected from the topmost drop-down menu.
Now select Recording from the left-hand side and make sure both the boxes are ticked.
4. Start recording
The set-up is done, so now comes the fun part: hit the record button on the main Audacity screen and start playing your record. You’ll see the screen fill with blue bars and, if everything is set up right, you’ll hear your record playing, too.
The bars at top of the screen represent the levels, or volume, of your music. If those bars are going red, it means the input volume is too loud, so lower it using the slider just below until the bars only show green. If you don’t, your music will sound distorted when you listen to it later.
What’s next?
When your record is finished, you can stop the recording by hitting 'Stop' next to the record button. You’ll be left with a single audio file of however many tracks you played while Audacity was recording. If you’d prefer files of the individual songs, we explain how to divide a single recording into multiple parts in the video above. Now you know how to get your music collection on to your computer, so all you need is to find a decent USB turntable. Fortunately, we’ve done the legwork for you.
Head over to our USB turntable reviews to see which models we rated the best.
View record player and turntable reviews

Latest News In
Which? Audio


Headphones that last: see our new Eco Buys
01 Dec 2021


5 outdoor speakers for under £30
09 May 2023

The best turntables to enjoy your records on
27 Apr 2023


Sony WH-1000XM5 wireless headphones reviewed
27 Jun 2022

The best sports and running headphones
12 May 2022


